

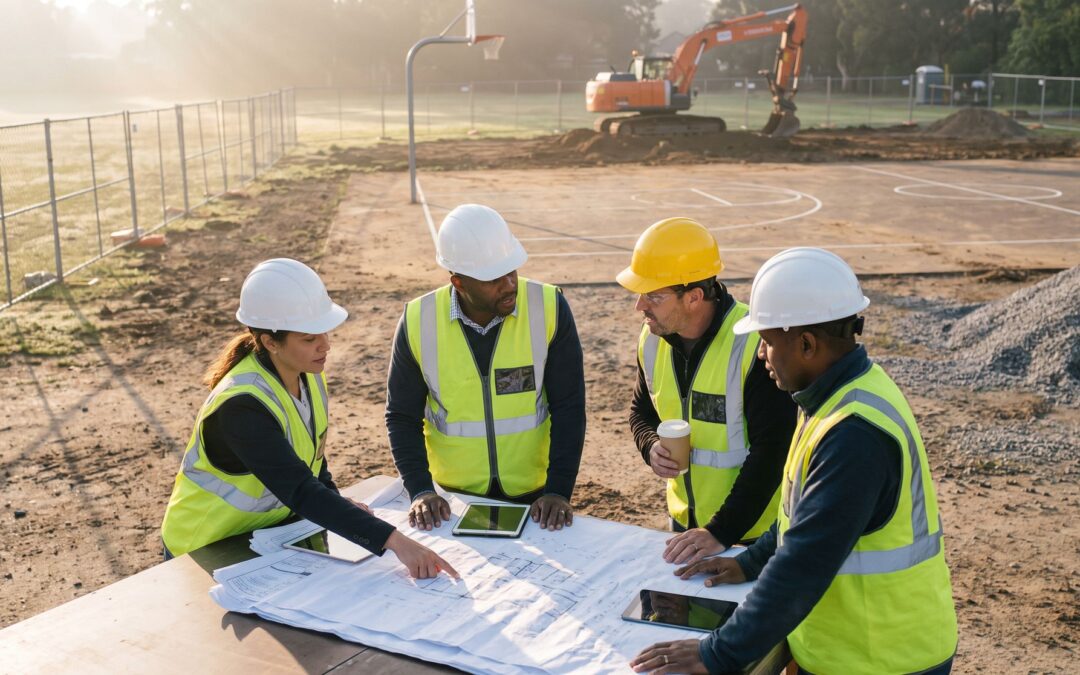
Planning the Foundation: Site Selection and Zoning for 2027 Projects
Every successful basketball court project starts with careful site selection, zoning compliance, and drainage planning, ensuring longevity and performance.
Before you weigh the cost to build a basketball gymnasium or estimate the cost of building a basketball facility, you need to nail down the basics. Standard court dimensions vary significantly by use:
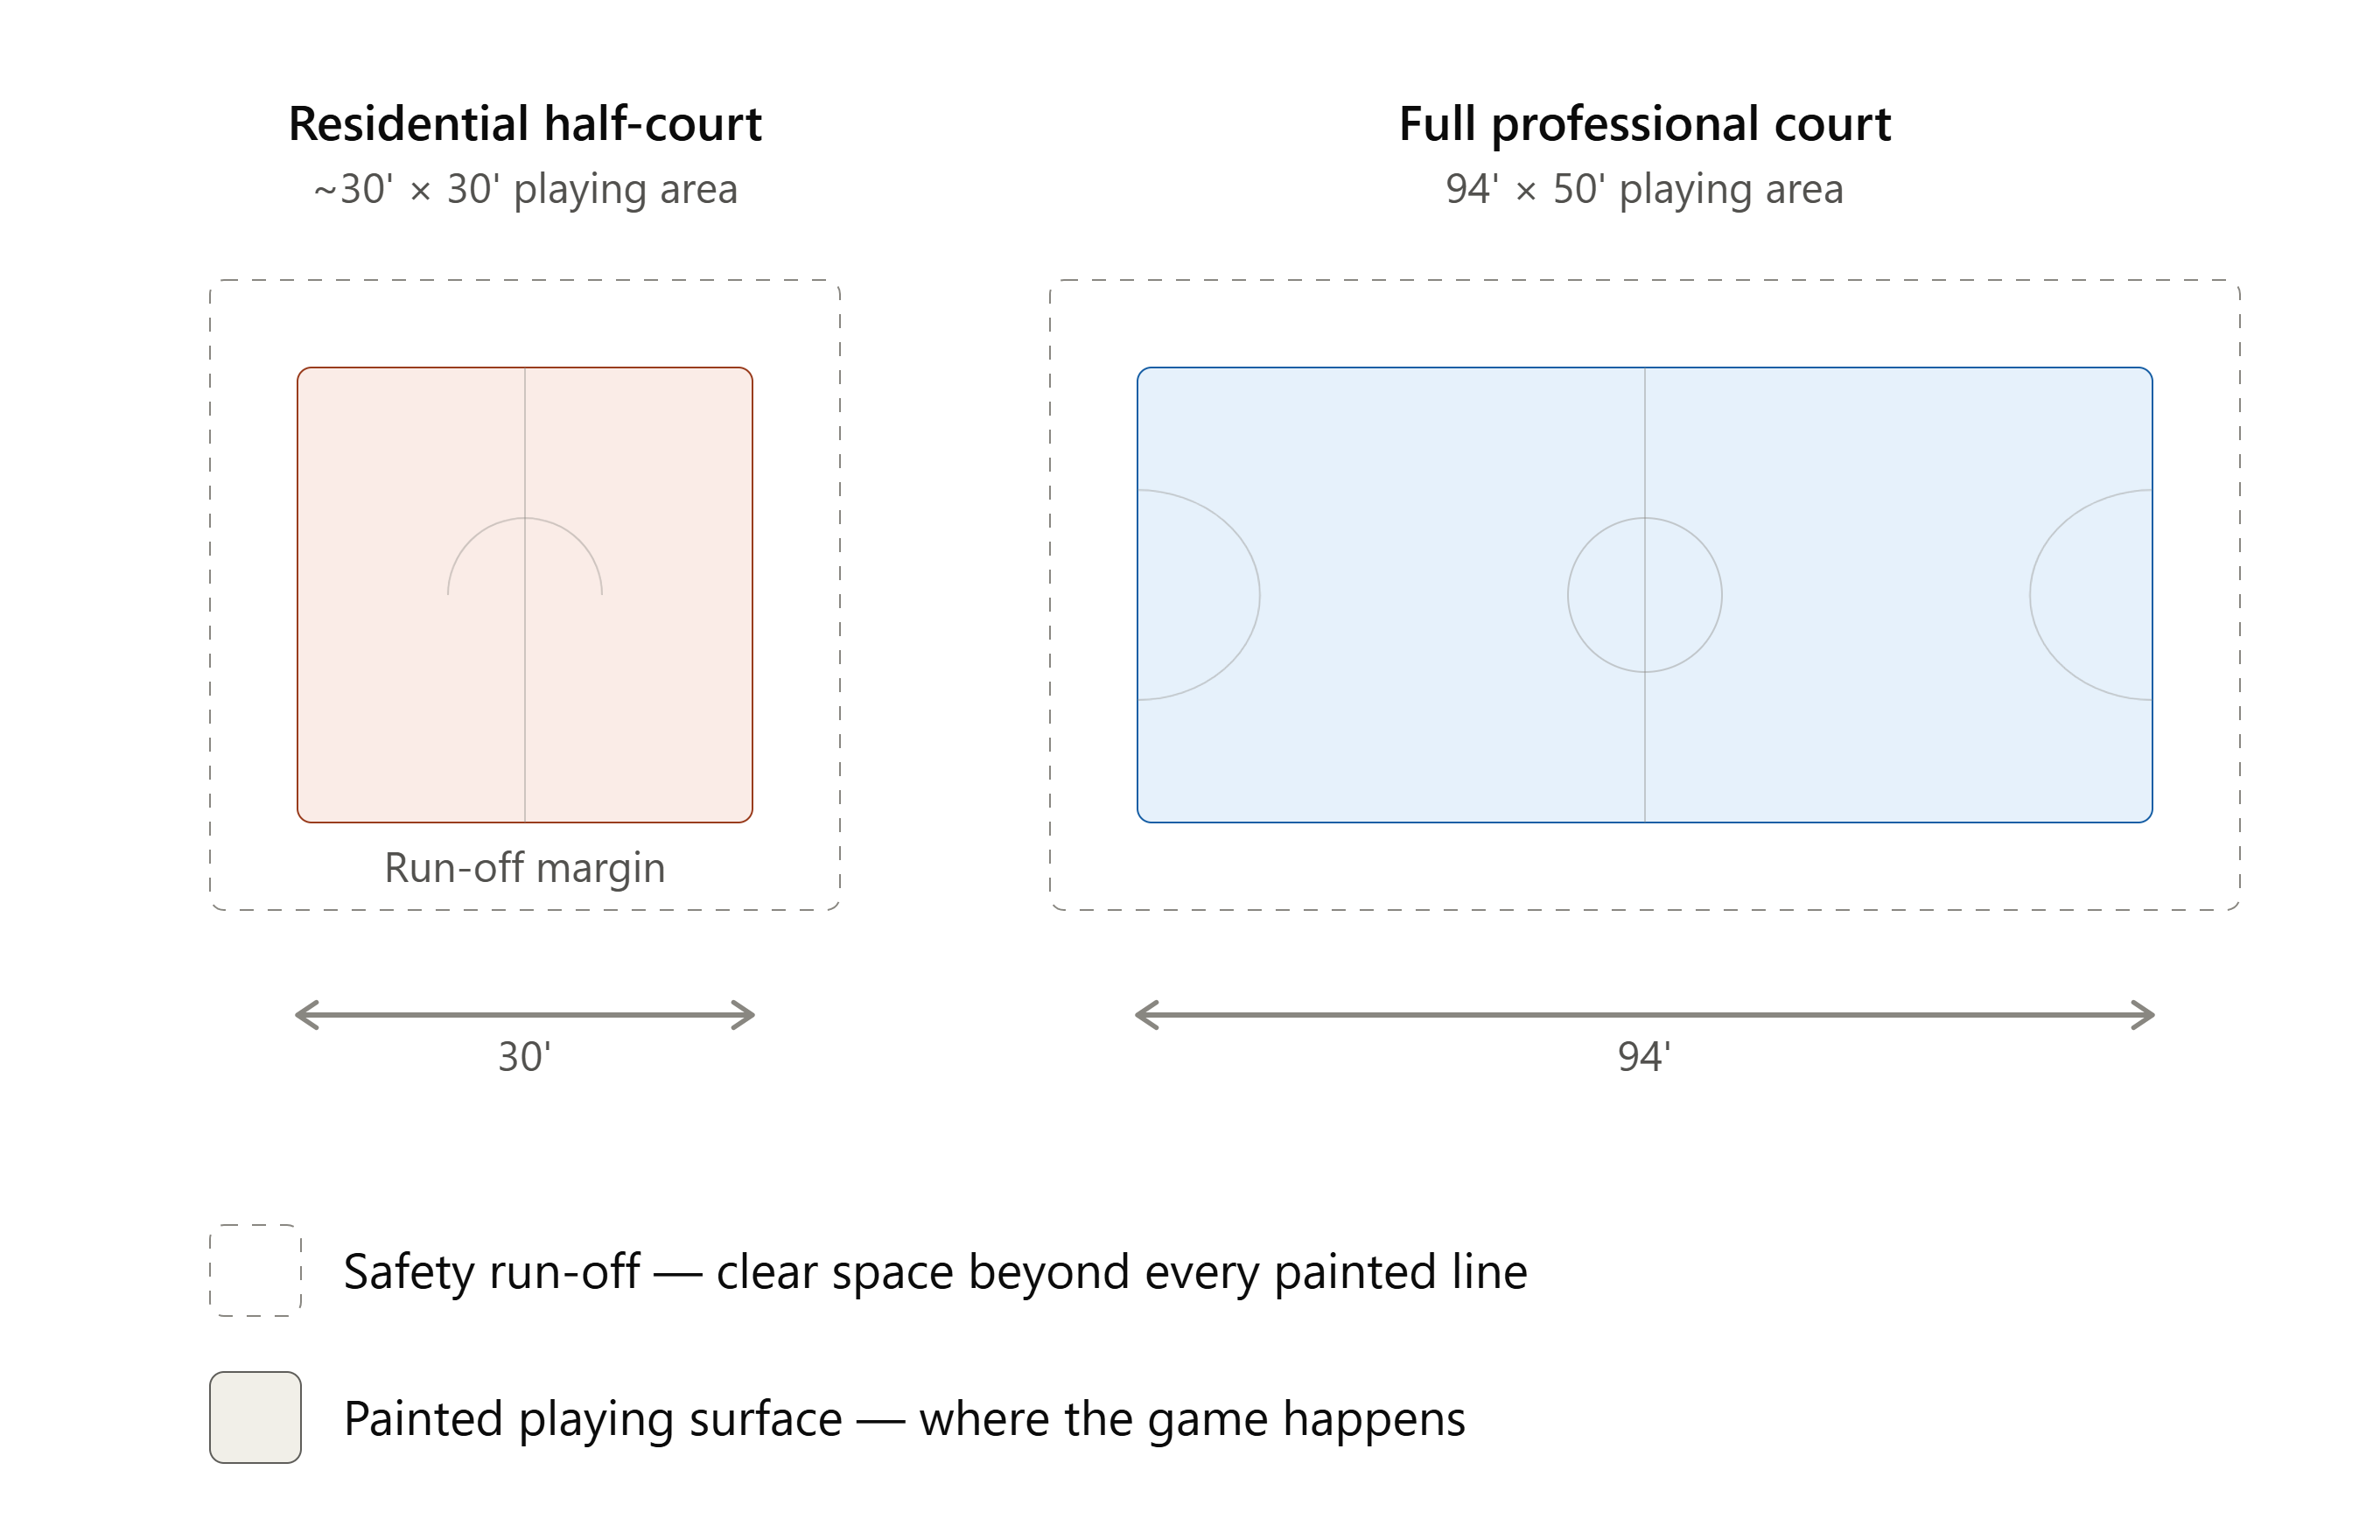
- Residential half-court: typically 30’×30′, suited for driveways and backyard installations
- Full-sized professional basketball court: 94’×50′, required for competitive and indoor court construction
Site orientation matters more than most owners anticipate. Positioning the court with a north-south alignment minimizes direct sun glare during peak play hours.
Zoning hurdles frequently slow projects down. Common obstacles include:
- Setback requirements dictating minimum distance from property lines
- Impervious surface ratios that cap how much of a lot can be paved
Drainage assessment is crucial. Poor grading causes standing water, surface cracking, and long-term degradation — the exact failure modes that drive costly emergency repairs down the road. Excavation and sub-base engineering ensure proper grading to prevent these issues.
Phase 1: Excavation and Sub-Base Engineering
Crews strip topsoil and organic matter entirely — roots and loam decompose, and anything that decomposes under a slab becomes a void. The subgrade is then cut to grade and compacted to a specified density so the base resists settling under load. Geotextile fabric between subgrade and aggregate keeps soil fines from migrating up into the stone.
Phase 2: Drainage Systems and Perimeter Containment
Water must be directed away from the court. French drains or perimeter swales carry runoff away from the slab edge, while the playing surface itself is pitched at roughly 1% — about 1 inch of fall for every 10 feet — so sheet flow clears without puddling. Modular tile systems need concrete curbing or a defined border to contain edges.
Material Showdown: Concrete vs. Asphalt vs. Modular Tiles
Choosing the best material for a basketball court depends on several factors. It depends on climate, budget horizon, and who’s playing.
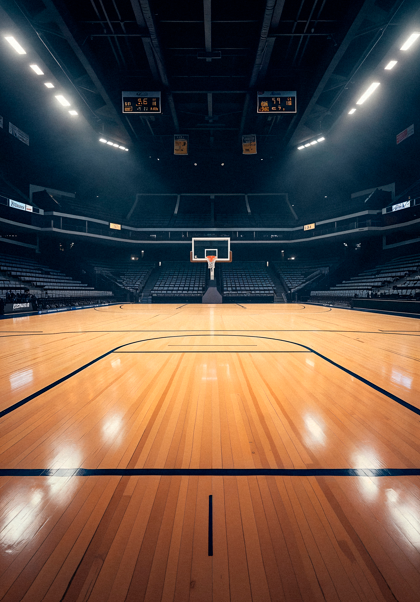
Reinforced concrete at 4 inches is the most dimensionally stable base available. It resists rutting, holds line work cleanly, and accepts acrylic coatings or tile systems without re-engineering. An asphalt basketball court costs less up front and installs faster, but it flexes, oxidizes, and softens in sustained heat.
Suspended modular flooring sits above the slab on a flexible grid. That grid absorbs shock and reduces joint loading — meaningful for aging players or high-volume youth programs — and it drains through the surface.
On a cost-to-longevity basis, concrete with acrylic wins over decades; asphalt wins over the first few years.
Reinforced Concrete Specifications
The standard thickness for concrete in a basketball court is four inches. Four inches is the standard for residential and light commercial work, reinforced with #3 rebar on a grid rather than mesh alone. A vapor barrier beneath the slab blocks moisture migration that causes acrylic delamination. Control and expansion joints, placed on a planned layout, direct inevitable cracking into straight, maintainable lines.
Acrylic and Modular Surface Finishes
Professional acrylic systems are built in layers: a resurfacer to fill porosity, filled color coats for controlled friction, then textured line paint. The sand content in those coats determines ball speed and grip.
High-grade polypropylene tiles carry UV inhibitors that resist chalking and fade under Florida sun. Both systems support custom color schemes — subtle earth tones for residential properties, team colors and logos for municipal and club courts.
Financial Roadmap: Cost Factors for Outdoor Basketball Court Construction
The cost to build a basketball court varies significantly. There’s no honest single number, because the slab is rarely the largest variable. Basketball court construction cost is driven by site conditions first.
Access matters: a backyard reachable only through a narrow side yard requires smaller equipment and more labor hours. Local labor rates, aggregate haul distance, and material freight all move the figure. Existing utilities, irrigation, or tree removal add scope.
Homeowners often underestimate the costs of finishing systems — pole-mounted LED lighting with trenched electrical, tempered glass adjustable goals set in deep footings, and fencing. Commercial and municipal facilities add permitting, engineering review, and accessibility work on top of that.
Budget by lifecycle, not by square foot alone.
Variable Expenses: Grading and Utilities
A sloped lot is a common budget surprise. Steep grades require cut-and-fill, retaining structures, and significantly more excavation hours than a flat pad. Running electrical for night lighting means trenching, conduit, and a licensed connection to the panel. Tempered glass backboards on adjustable in-ground systems carry a clear premium over acrylic consumer units — and they outlast them.
Maintenance and Lifecycle Planning
Acrylic outdoor courts generally need recoating on a five-to-seven-year cycle, sooner under constant sun and play. Modular tiles require periodic rinsing and debris removal so moisture doesn’t sit in the grid and encourage mold. When cracks or standing water appear, address them immediately — a sealed crack is a repair, while an ignored one becomes base failure and a full rebuild.
Case Study Patterns: Professional Installation vs. DIY Outcomes
DIY and general-contractor builds often encounter predictable issues. The most common is the “birdbath” — a low spot where water stands after rain, eroding the coating and staining the surface. The second is premature cracking from an under-compacted base or missing control joints.
Contrast that with a properly engineered build: subgrade compacted to spec, a stone base with positive drainage, correct slope, and perimeter drains sized for the region’s rainfall. Those courts shed storm water and keep their line work.
When evaluating basketball court contractors, confirm they:
- Build sport surfaces specifically, not driveways and patios
- Provide a written drainage and slope plan
- Specify slab thickness, reinforcement, and joint layout
- Carry licensing and show completed local projects
Scenario A: The Municipal Park Build
Public courts take abuse that residential courts never see, so specifications tighten: thicker slabs, heavier reinforcement, vandal-resistant hardware, and ADA-compliant access routes and transitions. Heavy-gauge steel fencing and pole lighting extend timelines through footing cures and inspections. Certified contractor oversight isn’t bureaucratic overhead here — it’s how a park director documents public safety compliance.
Scenario B: The Custom Residential Half-Court
A custom basketball court in a backyard competes with pool decks, landscaping, and sight lines. Smart placement tucks the court behind existing plantings and matches coating colors to the home’s palette. Rubberized tile or perimeter landscaping dampens ball noise for neighborhood harmony. Adding pickleball and volleyball lines turns a single-sport slab into a year-round family amenity.
Limitations, Considerations, and Common Misconceptions
It’s a misconception that any flat concrete slab can serve as a high-performance court. A driveway pour lacks the reinforcement schedule, joint planning, vapor barrier, and finish tolerance that playable surfaces require. Pouring concrete for a basketball court is a different specification entirely.
Indoor basketball court hardwood systems assume climate control. Install maple in an open-air pavilion or an unconditioned warehouse and humidity swings will cup, crown, and buckle the boards. Covered court construction without HVAC should use modular or coated concrete instead.
Historic indoor builds — including courts added inside existing buildings — succeeded because structural and environmental systems were addressed first.
Pause a project if soils test unstable, groundwater is high, or weather conditions are unsuitable for curing and coating.
Climate Constraints for Acrylic Surfaces
Acrylic coatings bond within defined temperature and humidity ranges. Apply them too cold, too hot, or onto a damp slab and adhesion suffers. High-pollen periods and windy days contaminate wet coats and leave texture defects. In cold climates, winter application demands tenting and controlled heat — or the schedule simply moves to spring.
Structural Limitations of Asphalt
Asphalt is a petroleum product, so oil drips and hydraulic leaks soften it permanently. UV exposure oxidizes the binder, leaving a brittle, raveling surface that telegraphs through acrylic coatings. It isn’t appropriate for professional indoor facilities, where rigidity and ball response are non-negotiable. The lower entry price is real — so is the shorter resurfacing interval and the earlier full replacement.
The Bottom Line: Key Takeaways for Your Court Project
Site preparation and drainage determine whether a court lasts two decades or five years. Everything visible sits on work no one sees.
Material selection should follow climate and use. Florida heat, humidity, and seasonal downpours reward reinforced concrete with quality acrylic or modular tile over asphalt. If joint comfort matters — older players, daily use — suspended modular flooring earns its premium.
Professional basketball court installation isn’t a markup on labor. It’s the engineering that keeps water moving, slabs from cracking, and coatings bonded.
Costs in 2026 vary widely by site, but the durable, multi-sport design consistently returns more usable years per dollar than the cheapest available build.
Summary: Actionable Steps for Decision Makers
Begin with a professional site survey to assess grade, soils, drainage, and setbacks before purchasing a hoop or basketball court kit. Request at least three quotes and compare them on total lifecycle cost, including resurfacing intervals, not just installation price. Verify that each bidder has built sport surfaces specifically and can point to comparable completed courts nearby.
Where to Look Next
Review manufacturer documentation for the exact coating or tile system under consideration, since adhesion, cure, and warranty terms vary by product. Check your municipality’s building codes and zoning ordinances for setbacks, lighting, and impervious surface limits. Then compare proposals against recognized athletic facility engineering standards before signing.
For a site assessment of your property, request a consultation with Sport Surfaces.
Planning the Foundation: Site Selection and Zoning for 2027 Projects
Many court failures trace back to decisions made before construction begins. The construction of a basketball court starts with the foundation, not just the surface.
- Dimensions: A residential half-court typically occupies approximately 30′ x 30′, while a full-sized professional court measures 94′ x 50′. Ensure safety run-off space beyond the painted lines on every side.
- Orientation: Position the long axis north-south where possible. An east-west layout puts the sun directly in shooters’ eyes during peak afternoon play.
- Zoning: Expect setback requirements from property lines, height limits on fencing and light poles, and impervious surface ratio caps that treat a slab as hardscape.
- Drainage: Assess existing water flow, soil percolation, and the low points on the lot before finalizing placement.